
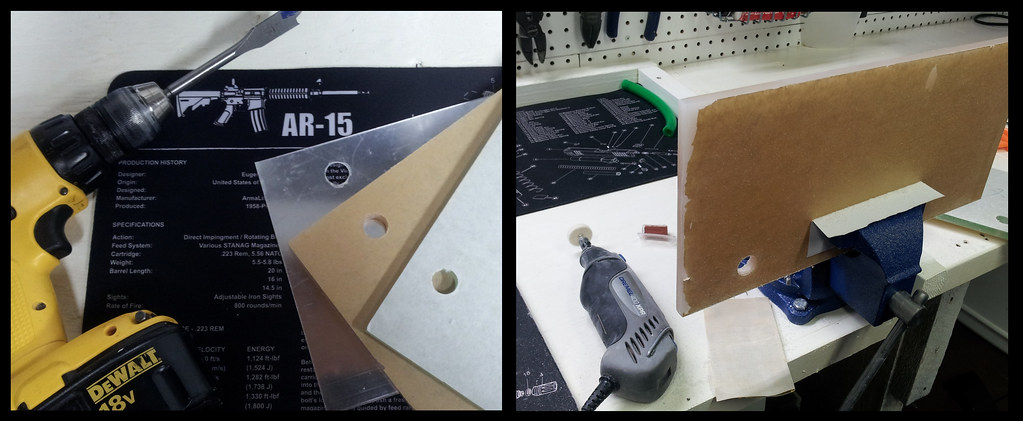
Here we have my 3 panels I will be using. I used 1x Mirrored Acrylic, 1x Clear Acrylic, and 1x White Acrylic. They will be constructed in that order, with an LED strip on the sides "shooting" light inwards. The housing will be a box made of Black Acrylic. The hole will be where some of my tubing will pass through. Once the whole was drilled, I polished the sides to allow for better light transmission on the clear and white panels.
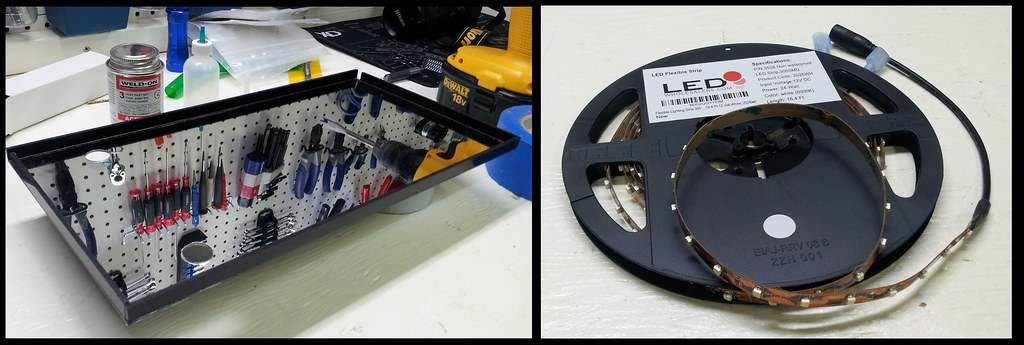
On the left is a pic of the completed box, with the bottom mirrored layer installed. To the right is the light strip I used for my build. Purchased it off of Amazon for a really good price. It is very bright, and easy to work with.
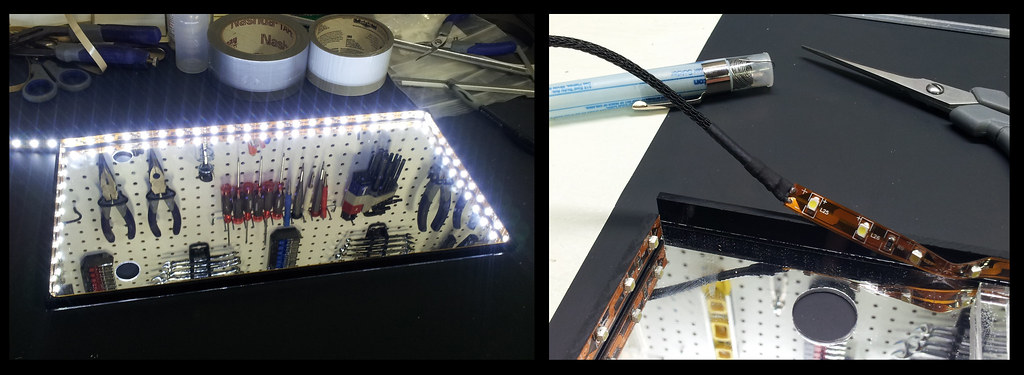
Just an idea of how the light strip will adhere to the box, on top of the mirrored acrylic. Also shown is the end of the light strip, where I cut it, and soldered on the contact points. It can be powered by any 12v source, and requires only 25w to light the entire strip. So I am able to power both the internal case strip and my mid panel with just one 4-pin molex connection.
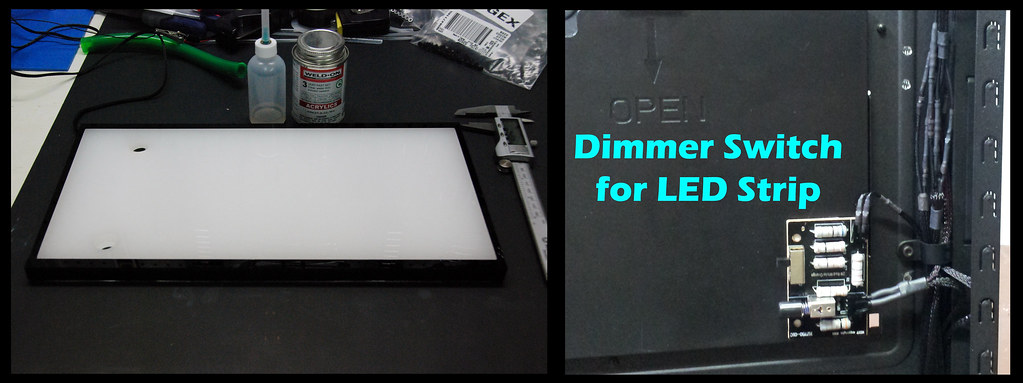
Here is the completed mid panel box. The clear layer sits between the mirrored and white acrylic panels. I did a bunch of tests and found that this "sandwich" combo provided the best light transmission. I first tried laing the white layer directly on top of the mirrored, but the light transmission was too weak. By using the clear in the middle, the light passes farther through the top panel, giving a brighter look. On the right is a circuit I am using that allows me to alter the brightness levels of both the LED Strip around the case perimeter, and the mid panel. It has 3 settings (High, Mid, Low), and works very well. Only downside is that in order to adjust it, I have to remove my case panel, but once I find my preferred brightness level, I probably won't touch it again. I installed it on the back of the CPU plate for easy access to the wiring for the Vandal switches.
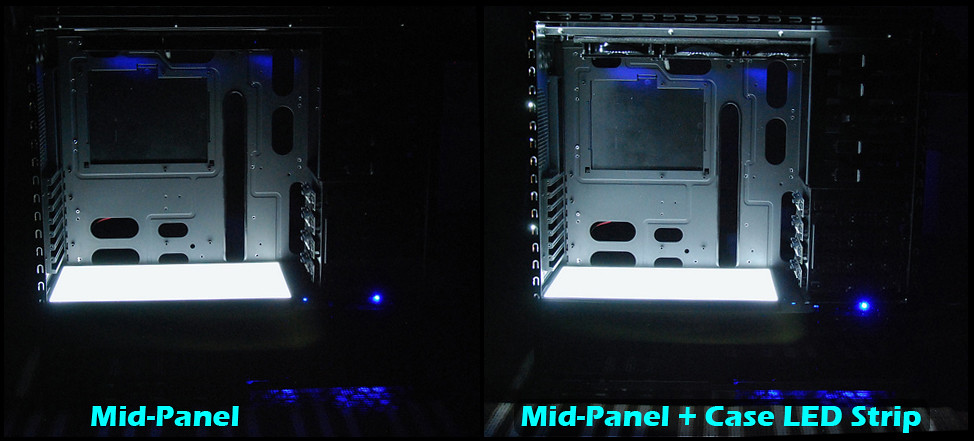
Here we have the lighting install and running, with a comparison of brightness with the different parts turned on. I used my phone camera for these pics, so it looks much brigher and washed out than it does in person. Time to bust out the DSLR for some better quality pics, but I may wait until the final gallery pics once everything else is installed. Here we have both parts lit up, along with the lights in the room turned on.

And here we have the room lights turned off. One pic shows illumination with just the mid panel, the other combines the light from the LED strip that lines the interior of the case.
Next up... sleeving and component p0rn :-D
No comments:
Post a Comment